
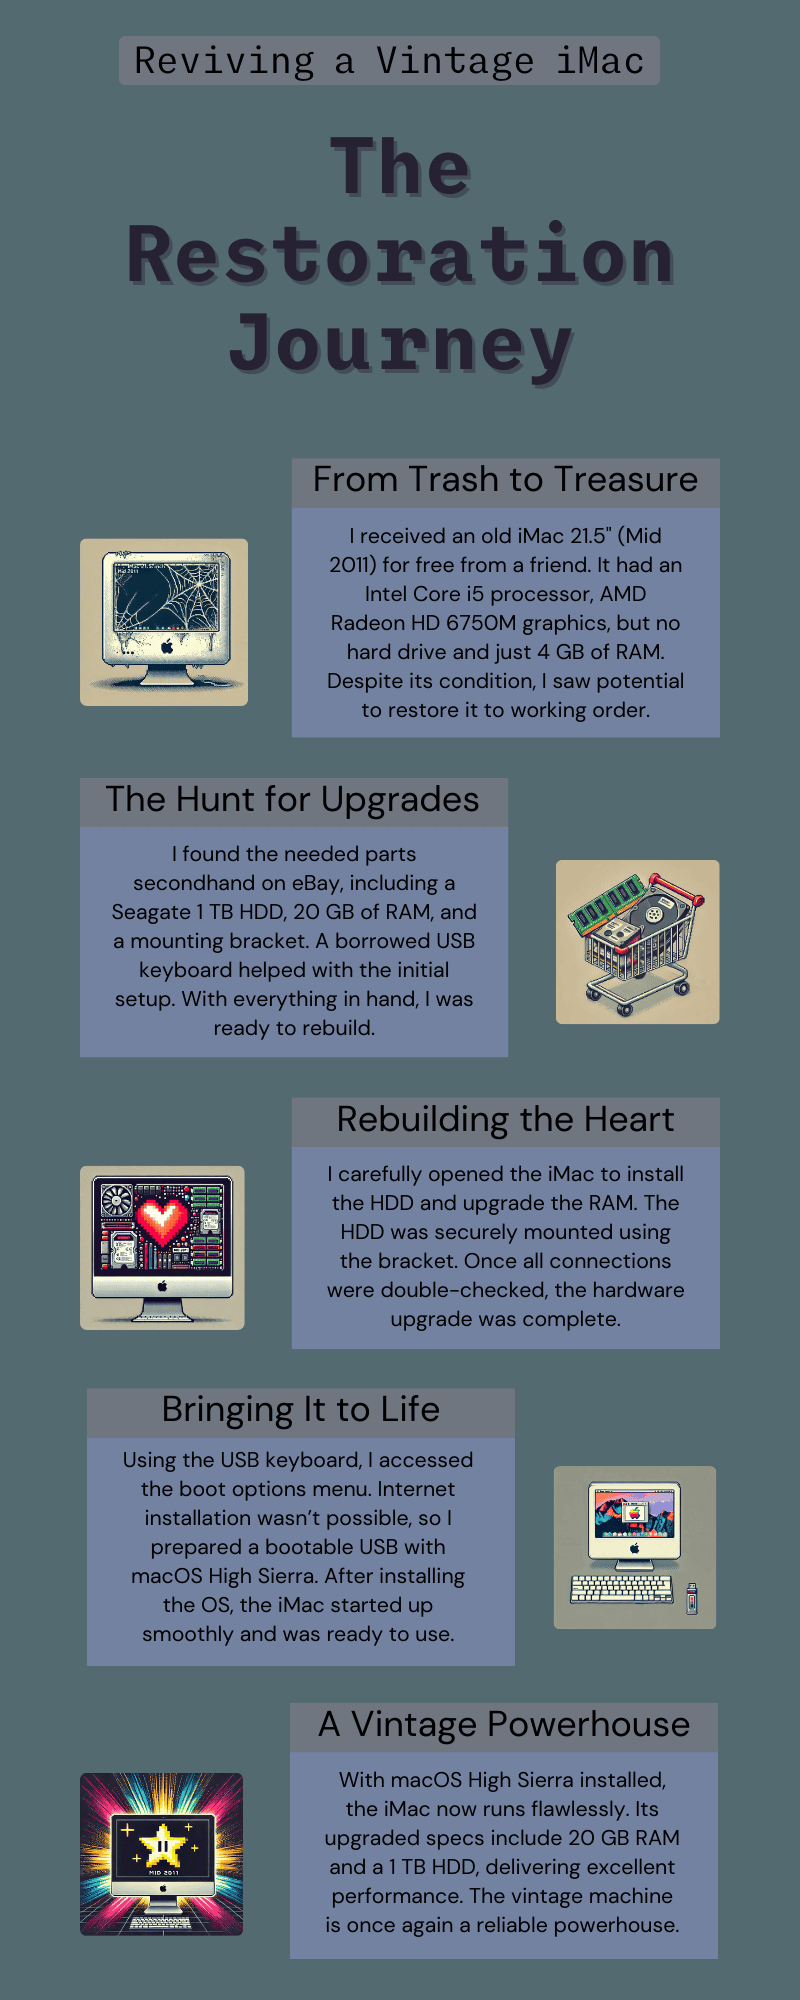


Follow these detailed steps to restore and optimize your mid-2011 iMac for modern use. Whether you're breathing new life into a salvaged device or upgrading an old favorite, this guide will ensure your iMac is functional and powerful.
Before starting restoration, examine your iMac:
• Hardware Check: Is the hard drive or RAM missing? Are there signs of damage?
• Model Confirmation: Verify it’s a mid-2011 iMac with an Intel Core i5 processor.
• Power Test: Plug it in and turn it on to see if it boots or displays error codes.
Knowing the condition helps you plan the restoration process efficiently.
Equip yourself with the necessary tools and components:
• Tools: Precision screwdrivers, spudger, and suction cups.
• Replacement Parts:
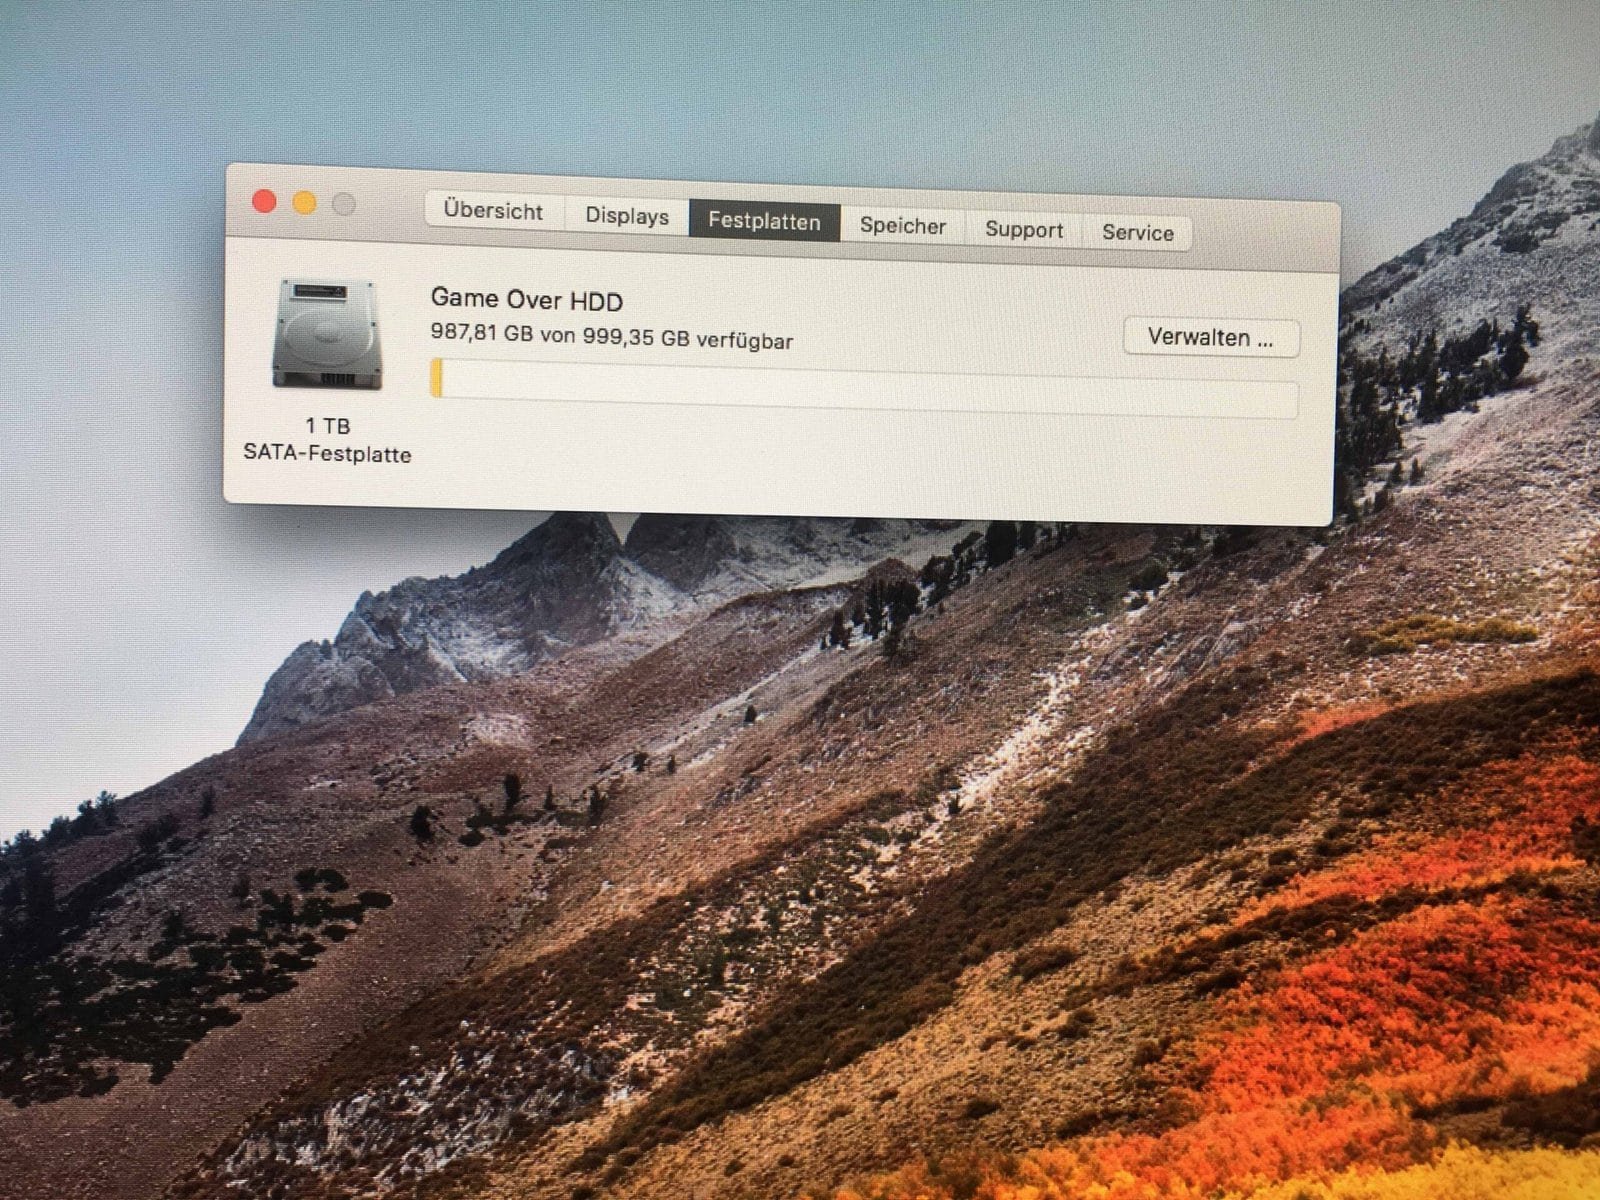
• A 1TB HDD or SSD for storage.
• Two 8GB RAM sticks to upgrade from 4GB.
• A mounting bracket for the hard drive.
Buy compatible parts from reliable sources like eBay or local marketplaces.
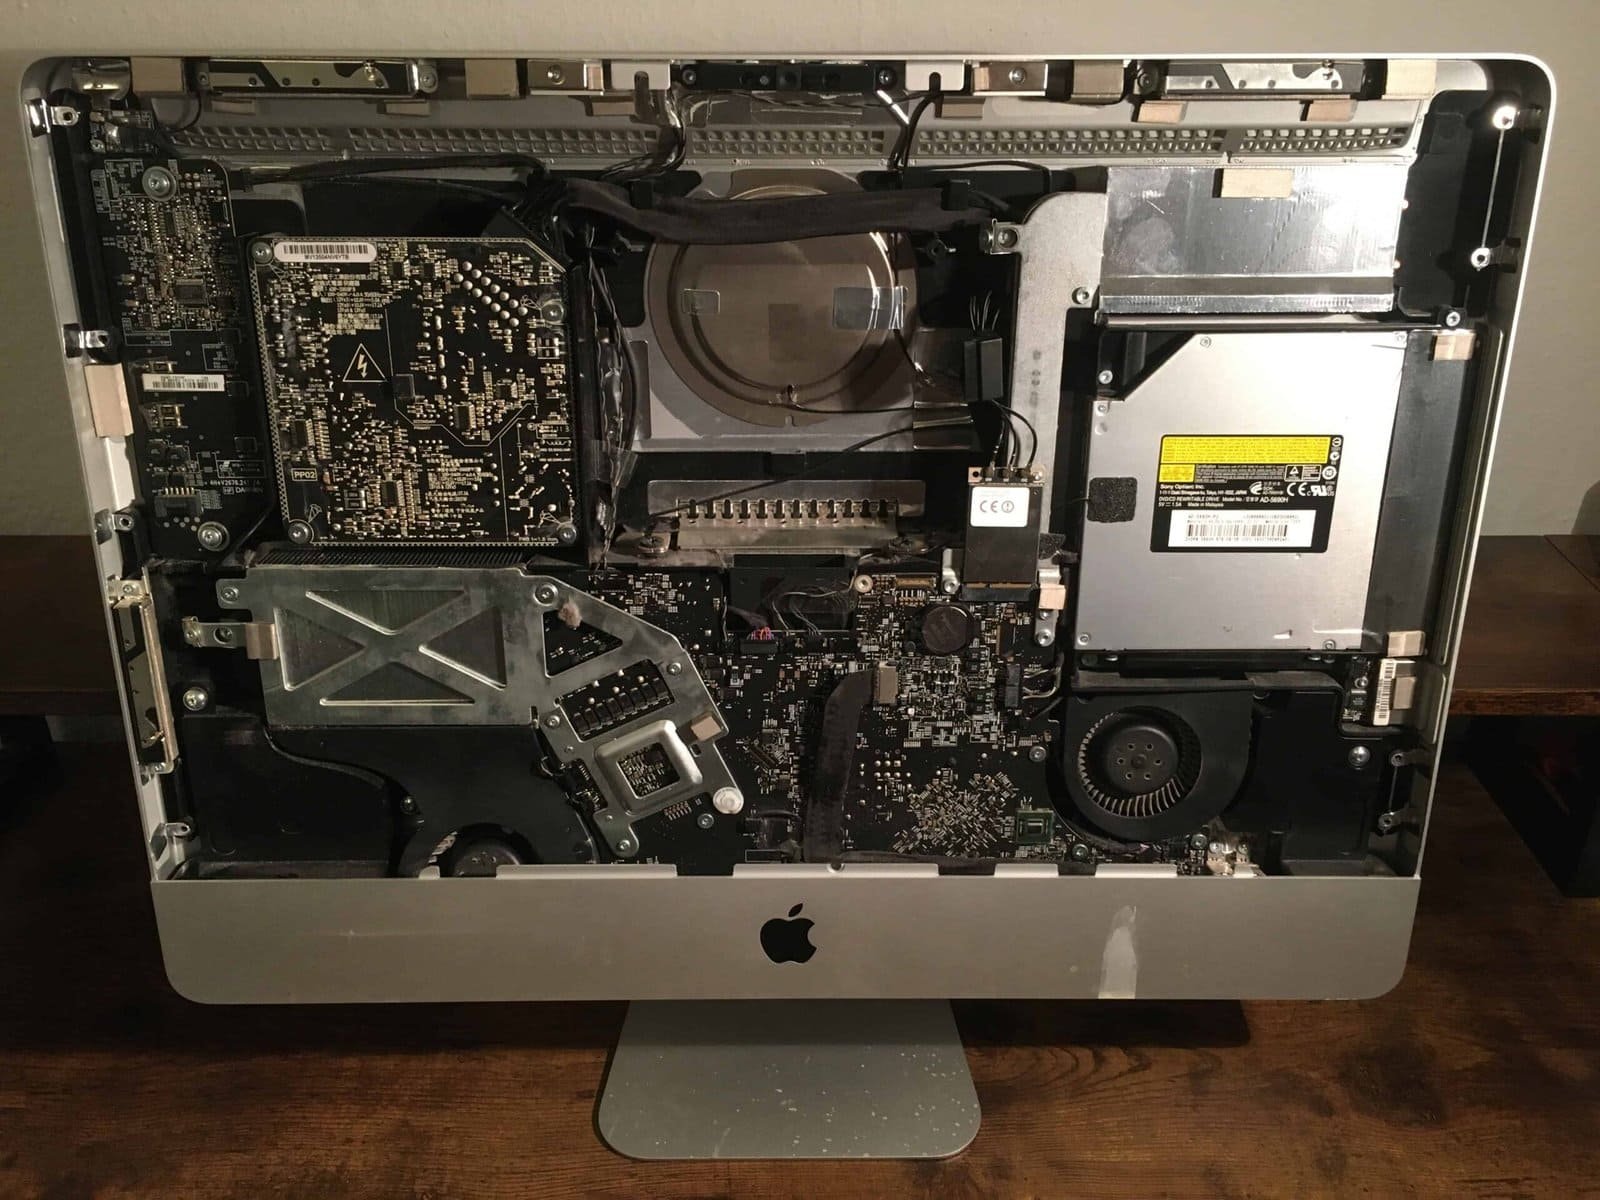
Accessing your iMac's interior requires caution:
• Remove the Glass Panel: Use suction cups to carefully lift it off.
• Unscrew the Display Panel: Disconnect the cables and set the panel aside.
• Expose Internal Components: Ensure no cables are damaged while working.
Take your time to avoid costly mistakes.
Install the new components:
• Hard Drive Installation: Mount the HDD or SSD in the bracket and connect it to the SATA cable.
• After the macOS High Sierra is installed RAM Upgrade: Replace / Add the existing sticks with the new 8GB RAM sticks.
• Reassembly: Reattach all panels and secure connections.
With upgraded hardware, your iMac is ready for modern tasks.
If your mid-2011 iMac lacks a functional operating system or internet recovery isn’t an option (if the installer is not progressing), creating a bootable USB drive is a reliable solution. Here's how to proceed:
What You'll Need
• A USB drive with at least 16 GB capacity. This is sufficient for the macOS High Sierra installer.
• Access to another Mac to download and prepare the installer.
1. Download macOS High Sierra
• On another Mac, open the App Store and search for macOS High Sierra.
• Download the installer, which will be saved to your Applications folder as Install macOS High Sierra.app. IMPORTANT: Do not launch it.
2. Prepare the USB Drive
• Open Disk Utility: Navigate to Applications > Utilities > Disk Utility.
• Format the USB Drive:
• Select the USB drive in the sidebar.
• Click Erase and choose the following options:
• Name: MacInstall (or any name you prefer).
• Format: Mac OS Extended (Journaled).
• Click Erase to format the drive.
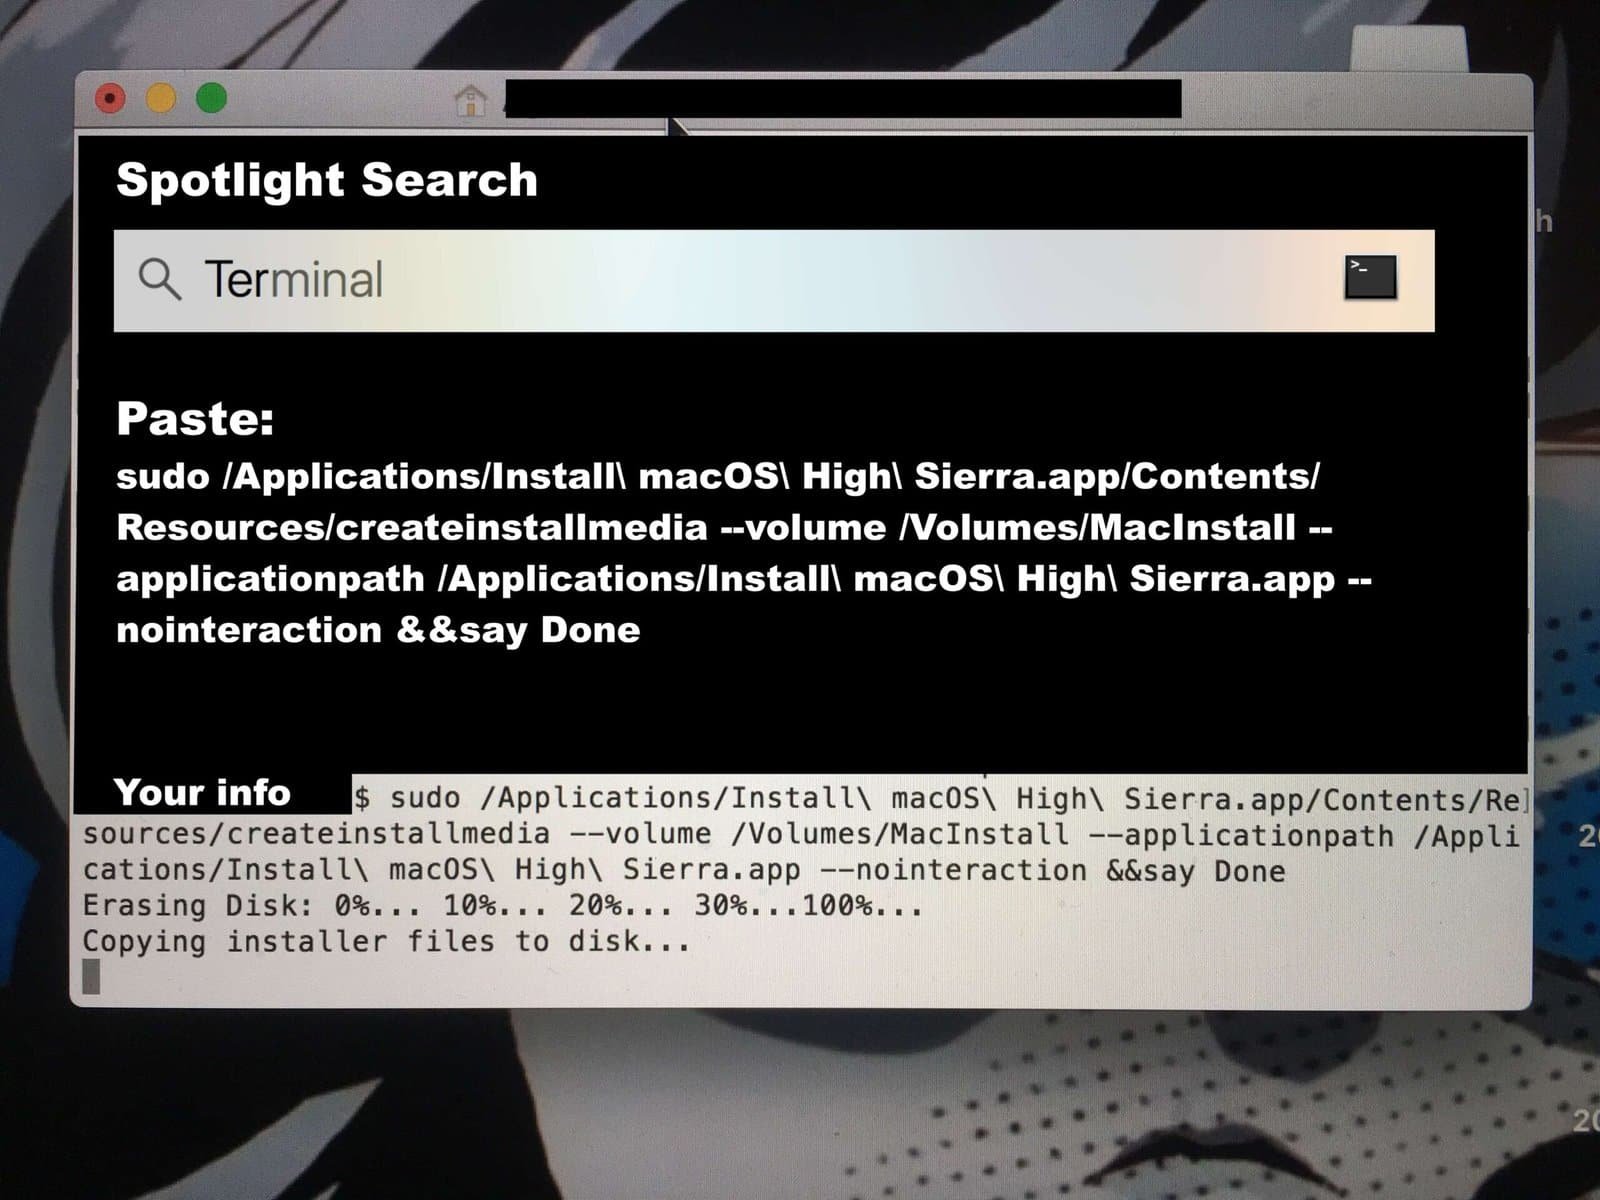
3. Create the Bootable Installer
• Open Terminal: Navigate to Applications > Utilities > Terminal.
• Run the Command: Copy and paste the following command into Terminal to create the bootable installer.
Ensure the USB drive is named MacInstall as specified earlier:
Copy the following code:
sudo /Applications/Install\ macOS\ High\ Sierra.app/Contents/Resources/createinstallmedia --volume /Volumes/MacInstall --applicationpath /Applications/Install\ macOS\ High\ Sierra.app --nointeraction && say Done
• Enter Your Password: When prompted, enter your Mac’s administrator password.
• Wait Patiently: Do not eject the USB drive or interrupt the process. You’ll hear “Done” when the installer is ready.
Installing macOS on Your iMac
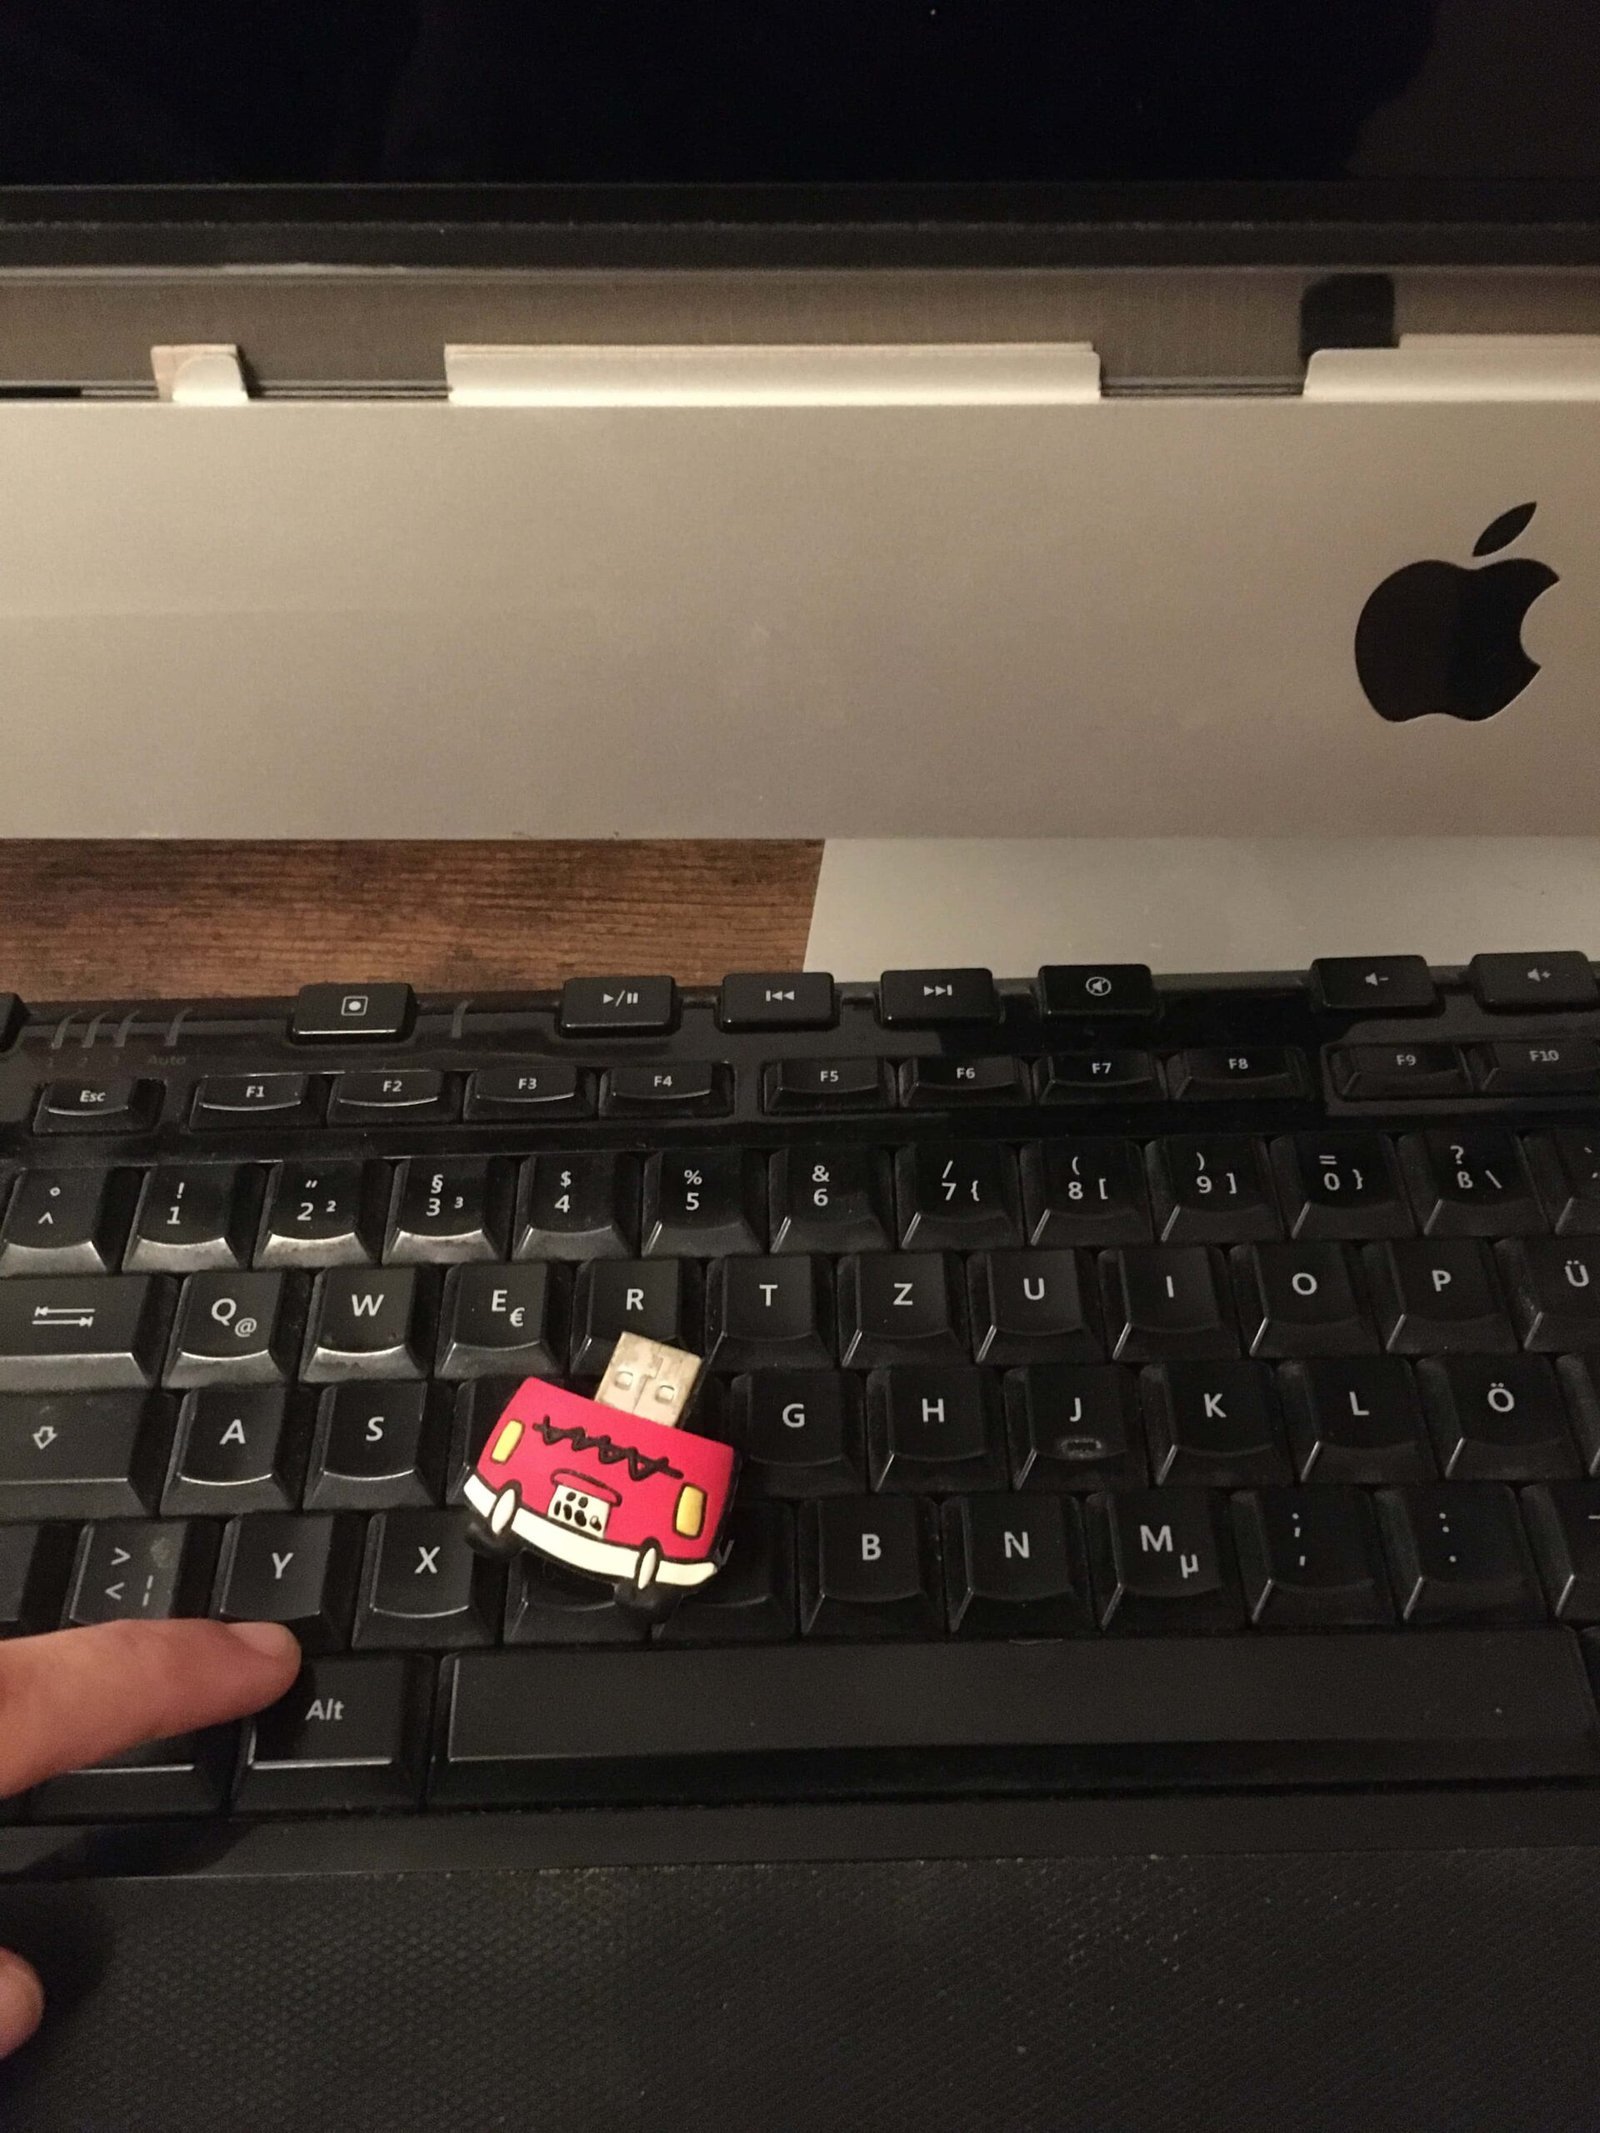
1. Boot from the USB Installer
• Insert the USB drive into your iMac.
• Turn on the iMac and hold the Option (Alt) key during startup.
• Select the USB drive as the boot disk.
2. Install macOS
Follow the on-screen instructions to erase the internal drive and install macOS High Sierra. Make sure to format your second hand HDD before installing the macOS.
By creating a bootable USB installer, you can bypass internet recovery limitations and install macOS efficiently on your mid-2011 iMac. Let patience guide you through this step for the best results!
When upgrading macOS, consider the iMac's compatibility:
High Sierra and Monterey:
These are 32-bit based and maintain compatibility with older software and hardware.
Catalina and Beyond:
Starting with Catalina, Apple transitioned to 64-bit architecture, potentially causing compatibility issues with older applications and peripherals.
Think about what you need before upgrading. If you rely on 32-bit software, stick with High Sierra or Monterey. For modern apps, weigh the trade-offs of moving to Catalina or newer. Informed choices can save time and prevent headaches.
Restoring a mid-2011 iMac is a fulfilling DIY project that extends the life of a once-forgotten machine. With careful planning and thoughtful upgrades, you can transform it into a valuable part of your setup. Embrace the journey and enjoy the rewards of bringing vintage tech back to life.